KINGREAL UNIVERSAL IND., LTD
Phone
+86-13702855825| 1 | Causes of Gas-assisted Injection Mold Defects |
| 2 | Purpose of Testing Gas-assisted Plastic Injection Molds |
| 3 | Key Steps of Gas-assisted Injection Mold Trialing |
| 4 | Precautions Before Gas-assisted Injection Mold Testing |
In modern life, gas-assisted injection molding can effectively improve product quality and performance. However, many defects in injection molded products often arise during the plasticizing and injection molding stages of the mold, and may even be related to improper gas-assisted injection mold design. Factors affecting the quality of injection molded products include injection port type, the number of mold cavities, their location and size, the design of the cold/hot runner system, and the product structure itself. Therefore, to avoid product defects caused by gas-assisted plastic injection mold design, gas-assisted injection mold testing is particularly important. | 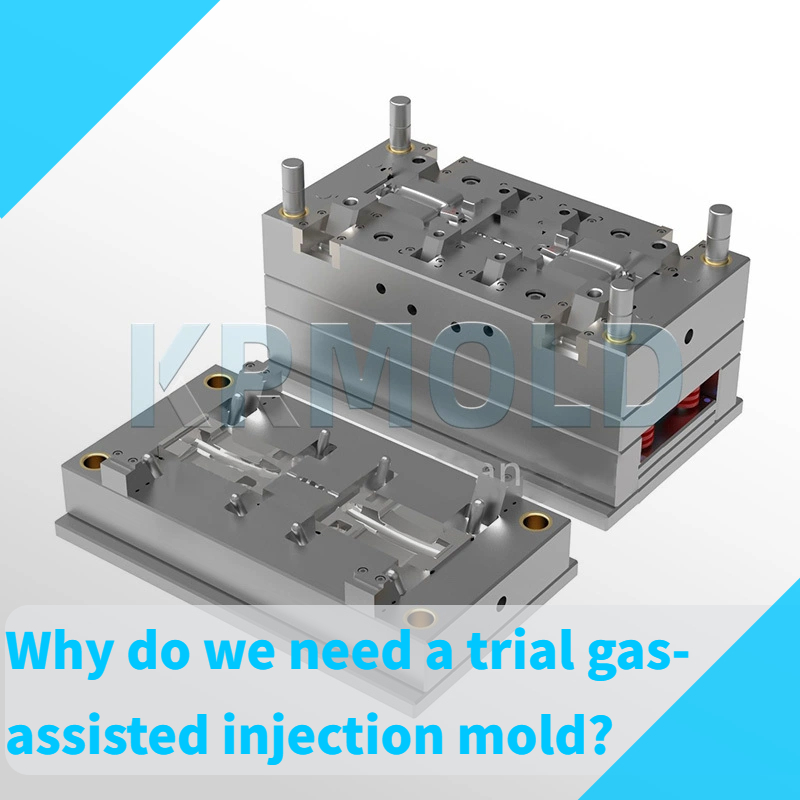 |
1.Causes of Gas-assisted Injection Mold Defects
First, the rationality of various technical parameters and product structure must be considered at the outset of gas-assisted plastic injection mold design. Improper design can lead to defects such as bubbles, cold welds, and deformation during the gas-assisted injection molding process. These problems not only affect the product's appearance but can also seriously affect its functionality. Therefore, gas-assisted plastic injection mold testing can help identify and correct design issues before mass production begins.
For example, injection port design has a significant impact on the plastic's flowability and filling speed. Improper injection port placement can lead to uneven plastic flow, resulting in localized defects in the product. Testing gas-assisted injection molds allows you to evaluate the feasibility of designs before actual production, ensuring the quality of the final product.
2.Purpose of Testing Gas-assisted Plastic Injection Molds
The purpose of gas-assisted plastic injection mold trialing is not just to obtain a good prototype; more importantly, it is to identify optimized process parameters and gas-assisted injection mold design. After obtaining the results of the gas-assisted plastic injection mold trial, the operator needs to evaluate the specific mold conditions to avoid unnecessary cost and time during modification. Often, to compensate for shortcomings in the gas-assisted injection mold design, the operator may unknowingly make incorrect settings, resulting in a very narrow parameter setting range required to produce a qualified product. Any deviation in the parameter settings can cause the final product quality to far exceed the allowable error range.
For example, during the trial process, the operator needs to carefully record and analyze mold parameters such as temperature, pressure, and shot volume. This data provides important reference for subsequent mold design and production, ensuring that every step is optimized.
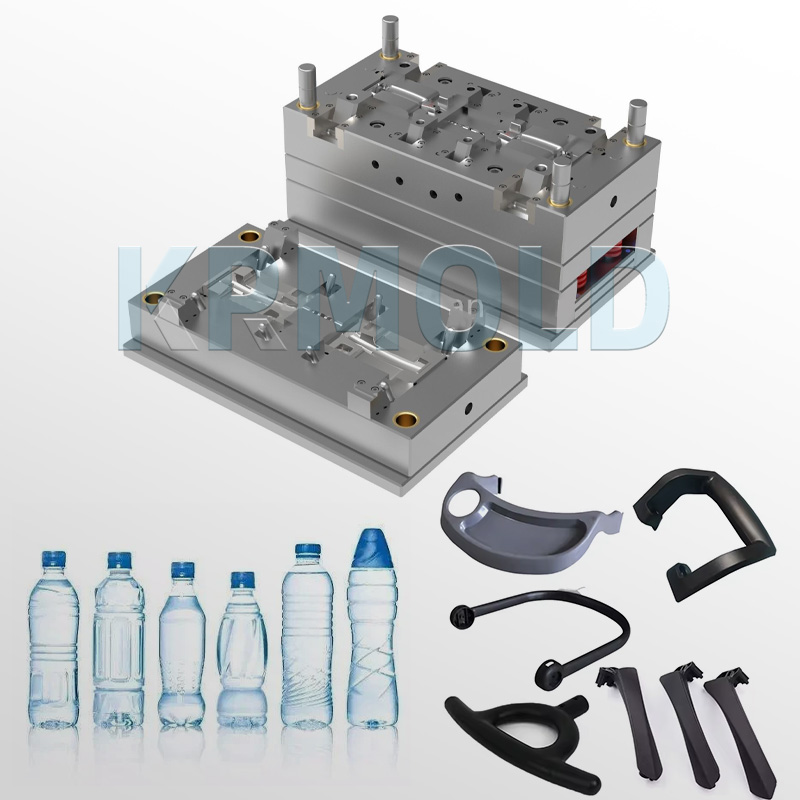
3.Key Steps of Gas-assisted Injection Mold Trialing
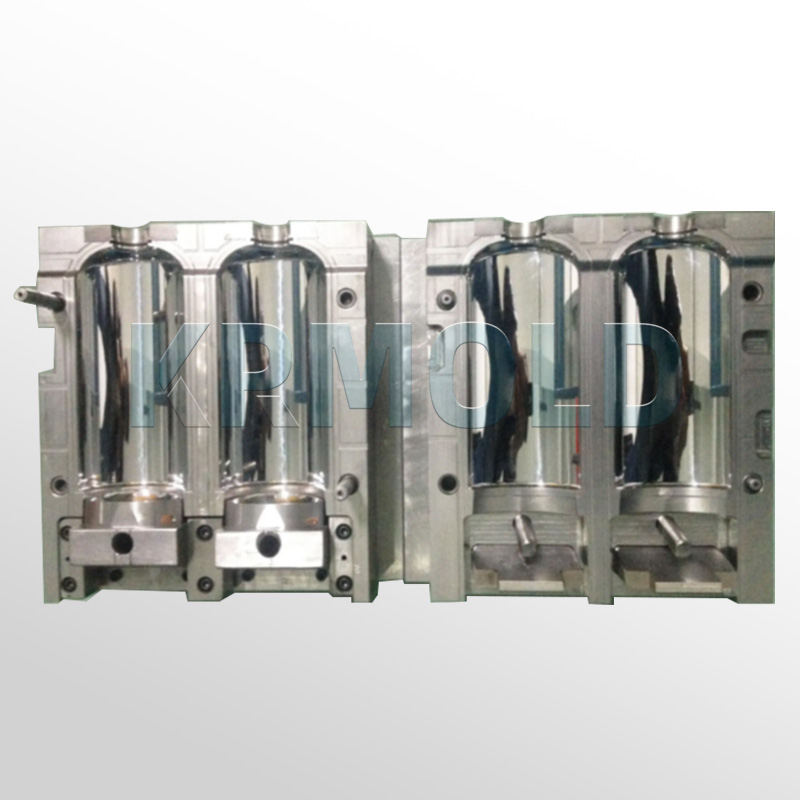
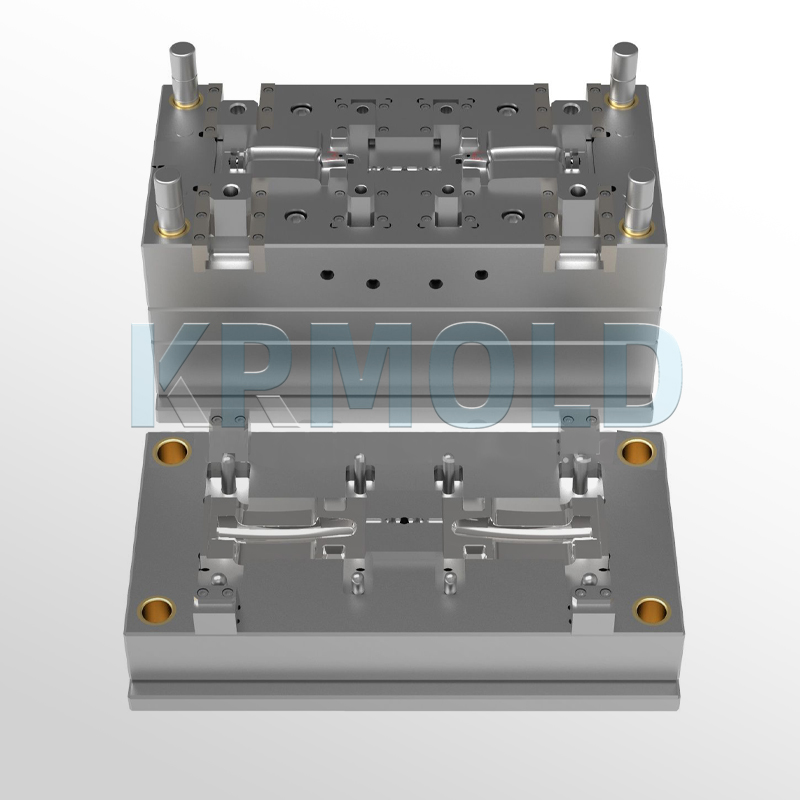
To avoid unnecessary time and trouble during mass production, gas-assisted plastic injection mold trialing requires patient adjustment and control of various processing conditions. The following are the main steps in a trial gas-assisted injection mold:
1) Check the raw materials and equipment
First, verify that the plastic in the barrel is correct and that it has been baked as required. Using different raw materials for trial gas-assisted plastic injection molds and production may yield different results. Furthermore, the barrel must be thoroughly cleaned to prevent degraded or contaminated materials from being injected into the gas-assisted injection mold, as these can cause the mold to seize. Therefore, checking the barrel and mold temperatures to ensure they are suitable for the material being processed is the first step.
2) Adjust parameters
During the trial gas-assisted plastic injection mold, the operator needs to adjust the pressure and shot volume based on the desired appearance to produce a product with satisfactory appearance. Before adjusting various control parameters, it is important to consider that even slight changes in the fill rate can cause significant variations in fill.
3) Wait for conditions to stabilize
The operator should patiently wait for the machine and mold conditions to stabilize. Even for a medium-sized machine, this may take over 30 minutes. This time allows for identification of potential issues with the finished product and ensures that no unexpected problems occur during production.
4) Control Screw Advance Time
The screw advance time must not be shorter than the time it takes for the plastic at the gate to solidify, otherwise the finished product weight will decrease, affecting its performance. When the gas-assisted injection mold is heated, the screw advance time should be extended accordingly to ensure compaction.
5) Record Sample Data
The newly adjusted conditions should be run for at least 30 minutes until they stabilize, then produce at least one batch of samples continuously. Label the samples with the date and quantity and place them by cavity to test their stability and derive appropriate control tolerances. This is especially important for multi-cavity molds.
6) Measure and Compare
Measure and record key dimensions of consecutive samples. Samples should be measured again after cooling to room temperature. Compare the dimensions of each sample, noting the stability of the product dimensions and any trends of increase or decrease, which may indicate that the machine processing conditions are still changing.
7) Analyze Results
If the finished product dimensions do not fluctuate significantly and the processing conditions are normal, observe the quality of the finished product in each cavity to ensure that the dimensions are within the acceptable tolerances. Record the cavity numbers where the measured values are above or below the average to verify the correct gas-assisted plastic injection mold dimensions.
4.Precautions Before Gas-assisted Injection Mold Testing
Before conducting a gas-assisted plastic injection mold trial, there are several things you should prepare in advance:
-Learn the mold information: Obtain the gas-assisted injection mold design drawings, analyze the mold structure, and ensure that a mold technician is present during the trial.
-Check the mechanical fit: Check the gas-assisted plastic injection mold’s mechanical fit on the workbench to ensure there are no scratches, missing parts, or looseness.
-Select the appropriate injection molding machine: Ensure that the machine's maximum shot volume, tie rod internal distance, and movable platen stroke meet the mold requirements.
-Raise the mold temperature: Based on the properties of the raw materials used in the finished product, select an appropriate mold temperature controller and raise the mold temperature to the required production temperature.
-Adjust conditions gradually: When adjusting trial mold conditions, adjust only one condition at a time to clearly distinguish the impact of a single condition change on the finished product.
-Pay attention to internal stress in the finished product: After testing, perform secondary processing as soon as the finished product stabilizes to avoid problems such as internal stress that may affect subsequent processing.
